FAQ
arrow_back_ios
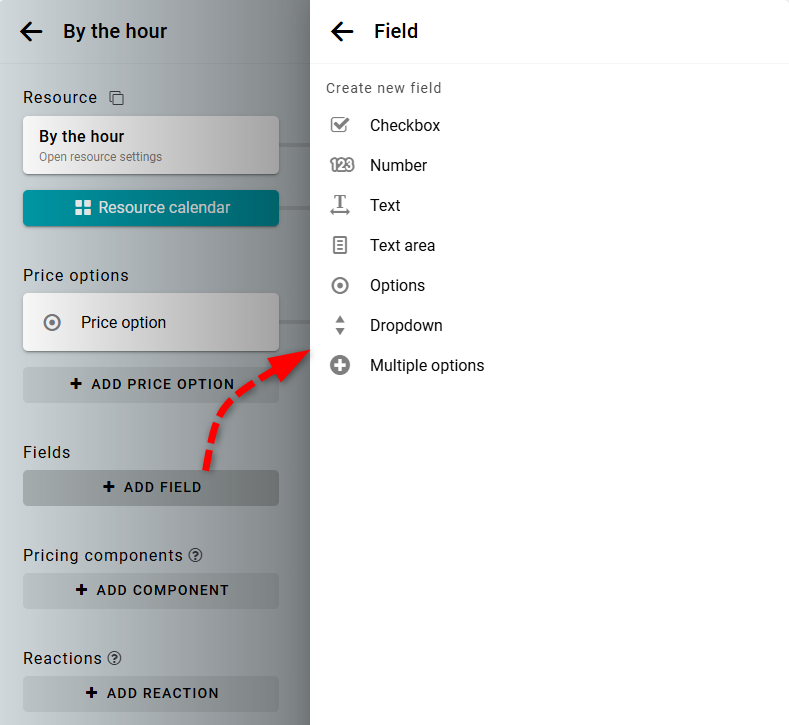
I want to ask additional questions during the booking process. How can I do this?
You can collect any information you need from your customers during the booking process. To do this, open the resource settings panel and add the required field.
You can also add images to your fields.
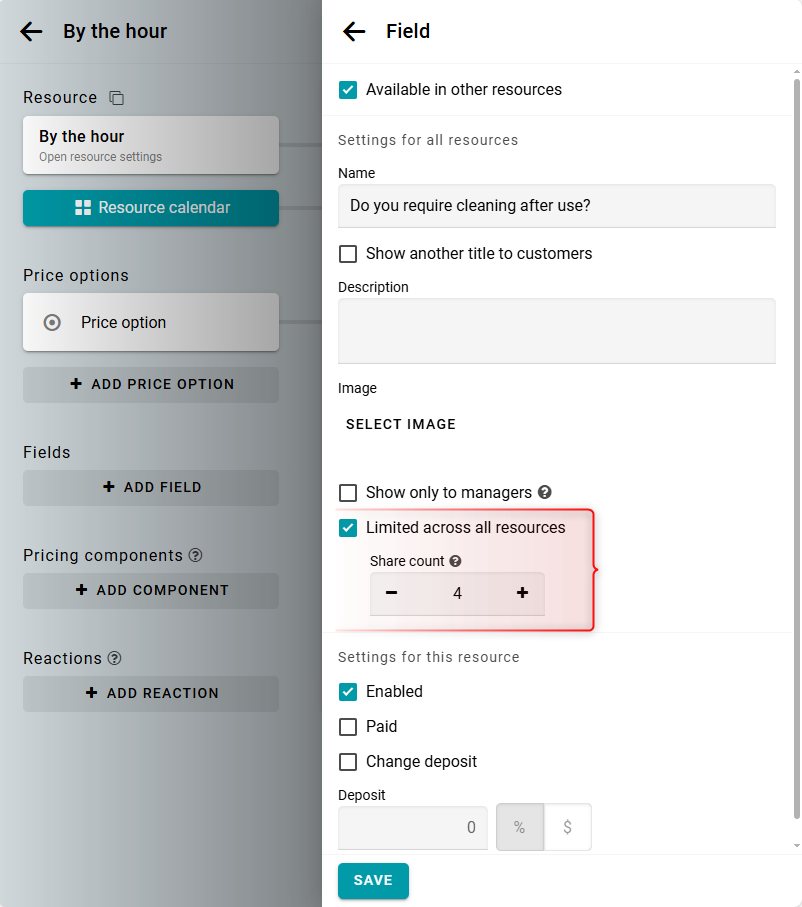
Number and Checkbox fields can be made paid or limited in quantity.
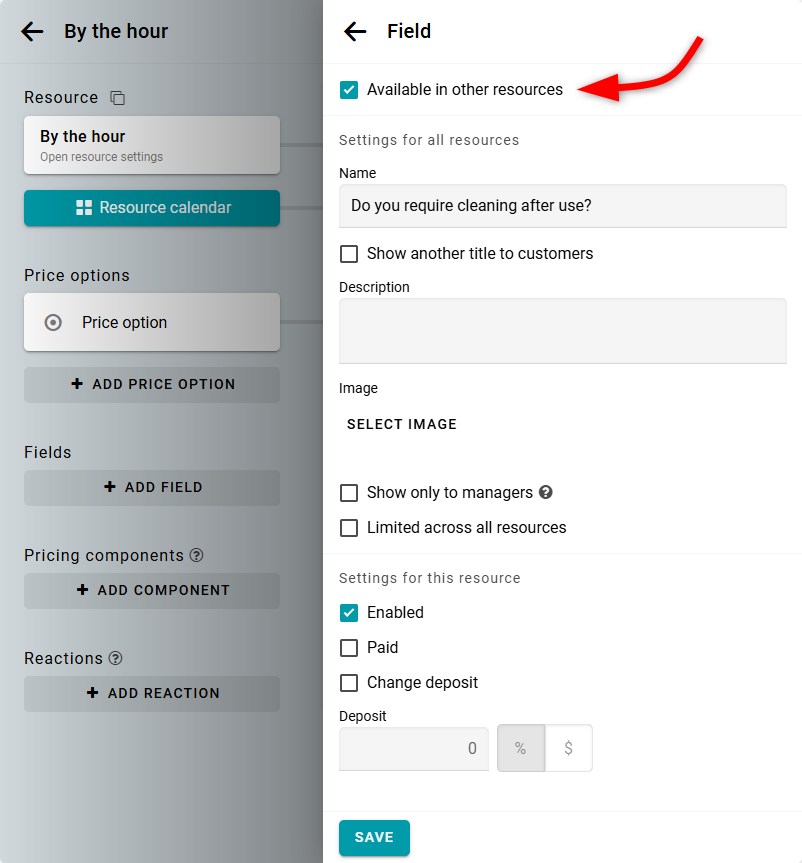
If you want to reuse a field for multiple resources, enable the Available in other resources option in the field settings.
Number and Checkbox fields can be made paid or limited in quantity.
If you want to reuse a field for multiple resources, enable the Available in other resources option in the field settings.
Note: If a field is used in several resources and has a quantity limit, this limit will be shared across all bookings in all resources where the field is enabled.
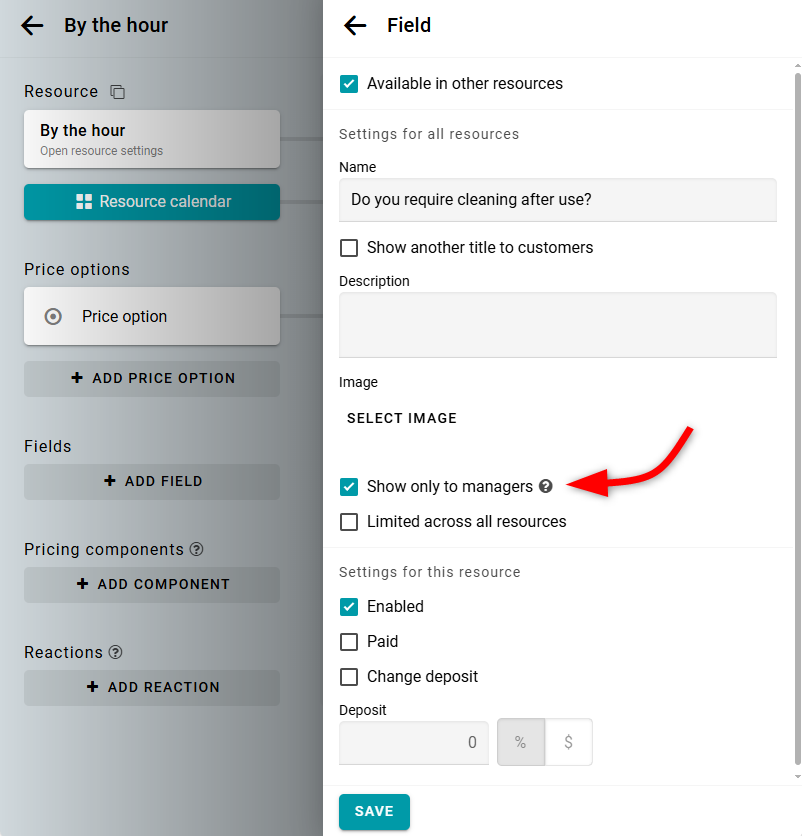
If you do not want a field to appear for customers on the booking form, enable the Show only to managers checkbox in the field settings. Such fields will be visible only to managers.
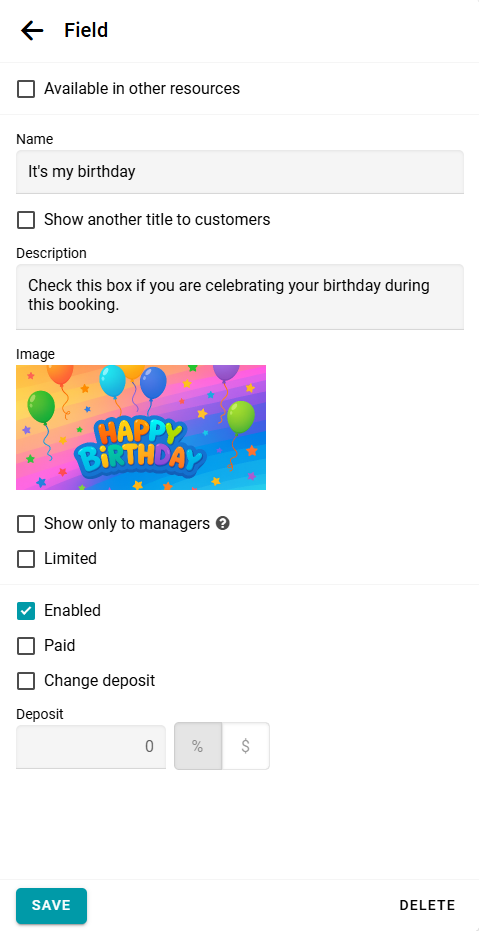
Checkbox
If you need a yes/no answer, create a Checkbox field. For example: 'It's my birthday'.
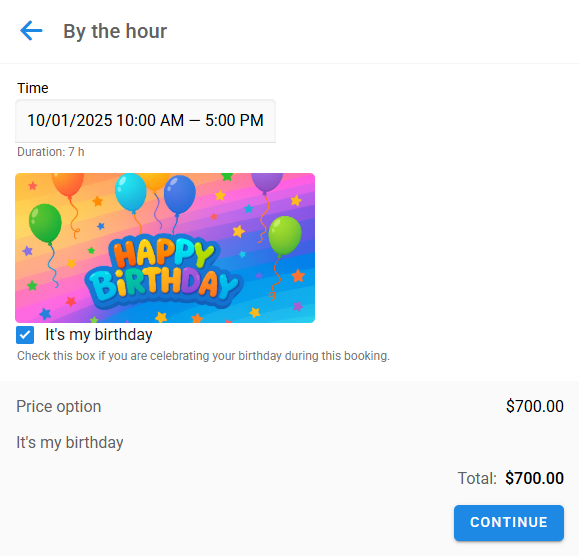
On the booking form, a Checkbox field looks like this:
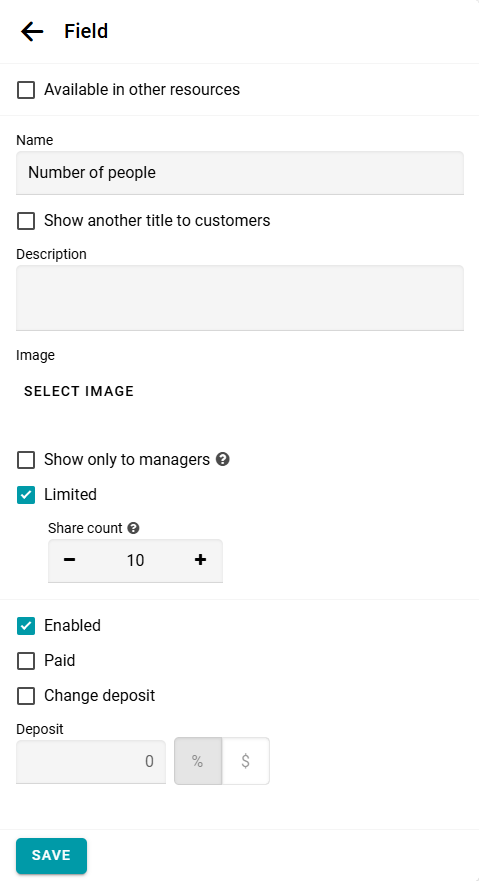
Number
If you need a numeric answer, create a Number field. For example: 'Number of people'.
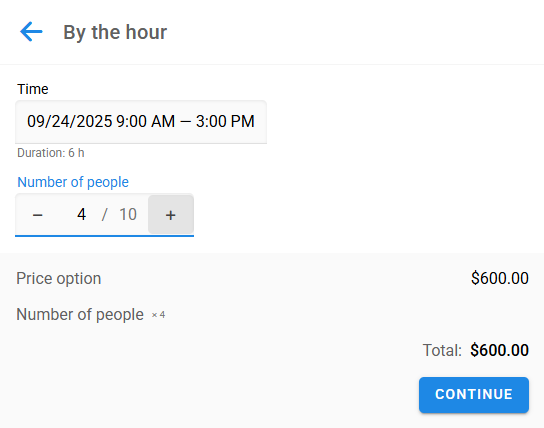
On the booking form, a Number field looks like this:
Text
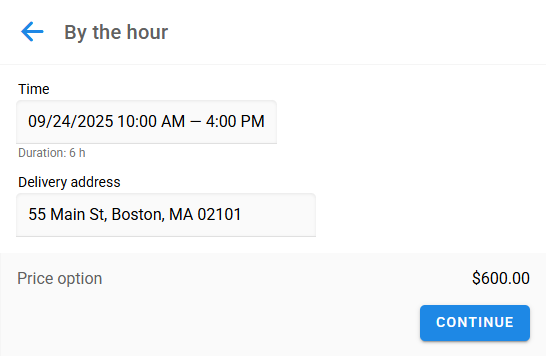
If you need to collect a short text response, create a Text field. For example: date of birth, delivery address, etc.
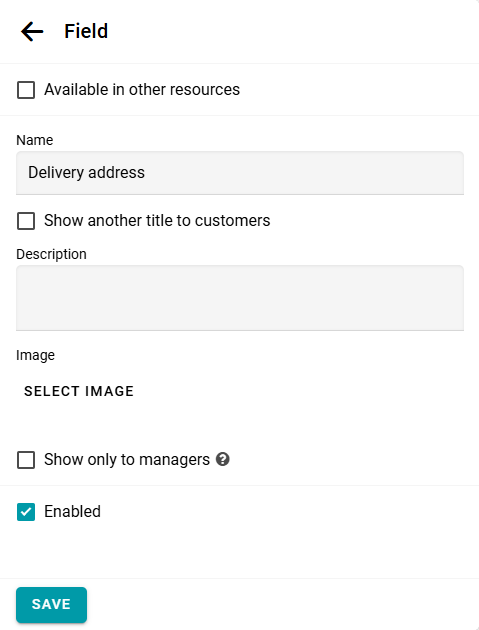
On the booking form, a Text field looks like this:
Text area
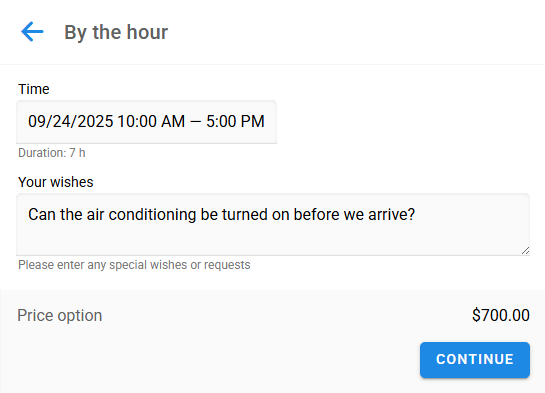
If you expect a longer answer, use a Text area field. For example: 'Your wishes'.
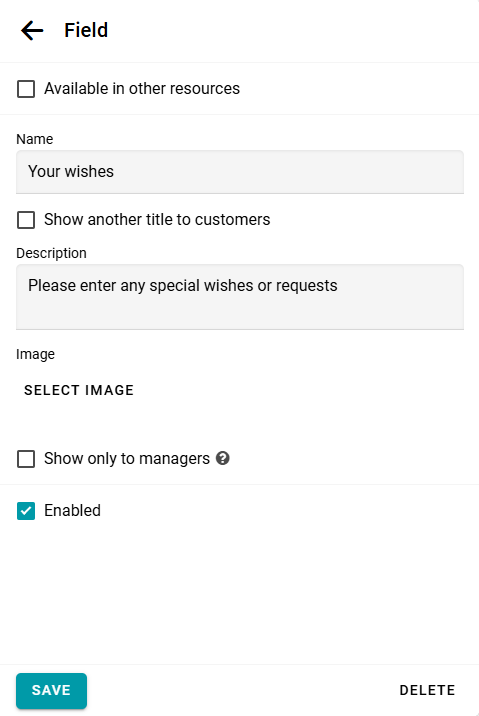
On the booking form, a Text area field looks like this:
Options
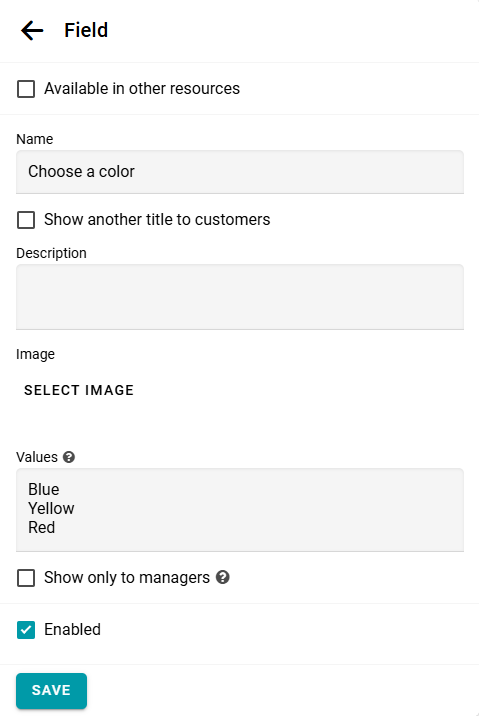
If you want the customer to select one option from several, create an Options field. For example: 'Choose a color'.
List each option on a new line:
List each option on a new line:
Blue
Yellow
Red
Yellow
Red
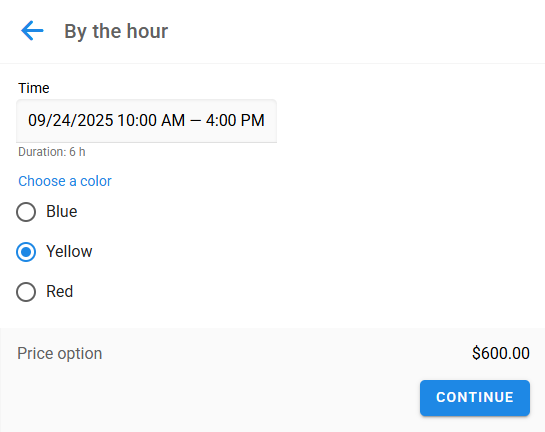
On the booking form, these Options appear as follows:
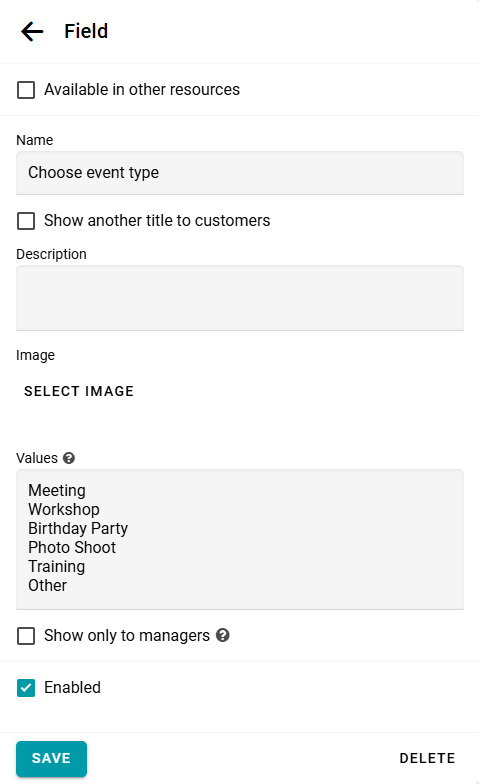
Dropdown
The Dropdown list is another way to present a set of options.
As before, enter each value on a new line.
As before, enter each value on a new line.
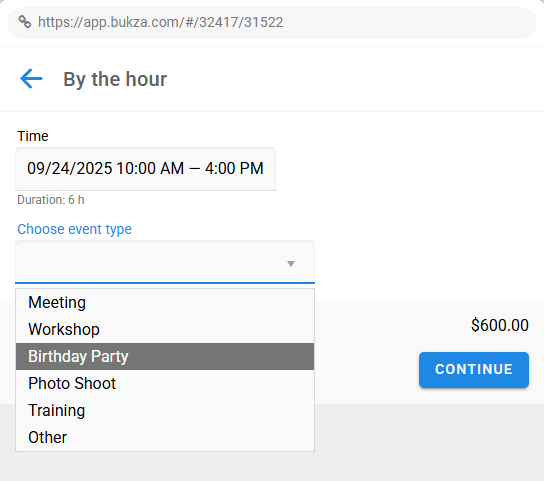
On the booking form, the Dropdown field looks like this:
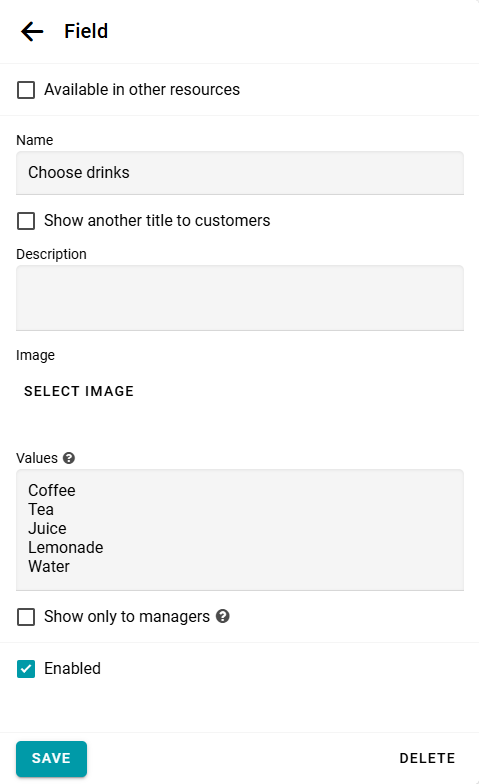
Multiple options
If the customer can select several options at once, use a Multiple options field. For example, for drinks:
Coffee
Tea
Juice
Lemonade
Water
Tea
Juice
Lemonade
Water
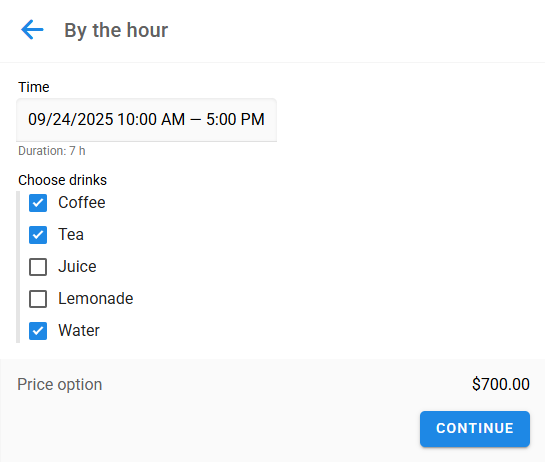
On the booking form, the Multiple options field looks like this:
Try all field types in the live widget below: